【译文】原文地址

责任链或命令链是一种设计模式,能够传递请求到多个处理函数中处理。每个处理函数决定对请求进行处理和封装或者传递给下一个处理函数。可以实现每一步处理之间的隔离,避免技术和业务之间的耦合。还可以根据你的应用变化,重新编排整条链。
责任链功能很棒,但是为什么我们希望这种链可配置呢?因为这能使你不需要重新部署代码就能够实现应用功能的调整。假设我们有一个处理函数集合可以用于构建我们的服务:

如上图所示,一个简单的流水线通过链接各个处理函数来对请求进行处理。这种链可以使用配置文件来表示,如下所示:
root: step1
steps:
  step1:
    type: handlerImpl1
    next: step2

  step2:
    type: handlerImpl2
    next: step3
  step3:
    type: handlerImpl3
假设你在生产环境下,你想在这个责任链中的步骤3前面添加一个缓存处理步骤。很幸运的是因为在其他流水线中已经有一个可以实现管理缓存的处理函数。通过改变链的配置文件,很容易就能实现一个包含缓存步骤的处理链,如下图所示:

root: step1
steps:
  step1:
    type: handlerImpl1
    next: step2

  step2:
    type: handlerImpl2
    next: step4
step3:
    type: handlerImpl3
step4:
    type: RewriteHandler
    next: step3
实际中的用例
假设你正在构建一个搜索API。很简单,它要接收搜索请求并返回结果。该API是在Elasticsearch之前,我们所要做的就是直接通过API调用ES。过了一段时间,你发现有些API请求太频繁,因此你决定调用ES之前引入Redis缓存。假设在某个点上,你想使应用更快速并构建本地缓存来应对请求。因此,你需要如下三个处理模块。每个处理模块负责一个功能,并根据需要可以调用下一个处理模块。

这种可配置责任链可以实现不需要修改代码就能随时移除不需要的功能。假如你发现本地缓存占用内存太大,你想取消使用本地缓存,你仅需要修改配置文件即可,请求自然就直接进入redis缓存。
如何实现
如果想看完整代码,可以跳到下一部分。这部分将详述代码细节。
处理配置文件
第一步从配置文件加载责任链配置。本文将使用挂载在 gist上的yaml文件。格式如下:
root: handler1_name
steps:
  handler1_name:
    type: handlerImpl1
    next: handler2_name

  handler2_name:
    type: handlerImpl2
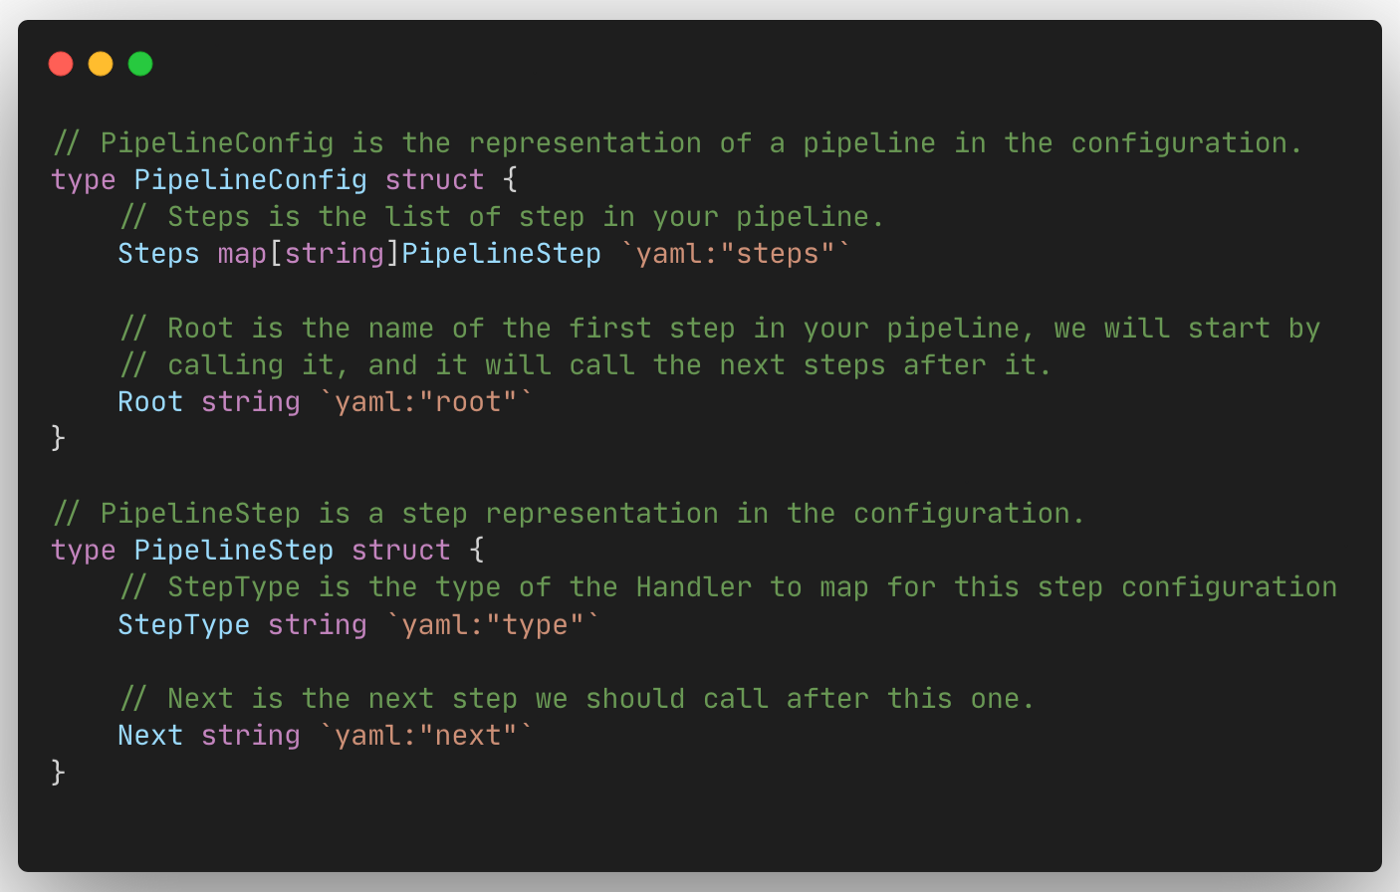
我们将yaml文件内容unmarshal到上面的结构内,作为main函数的第一步:
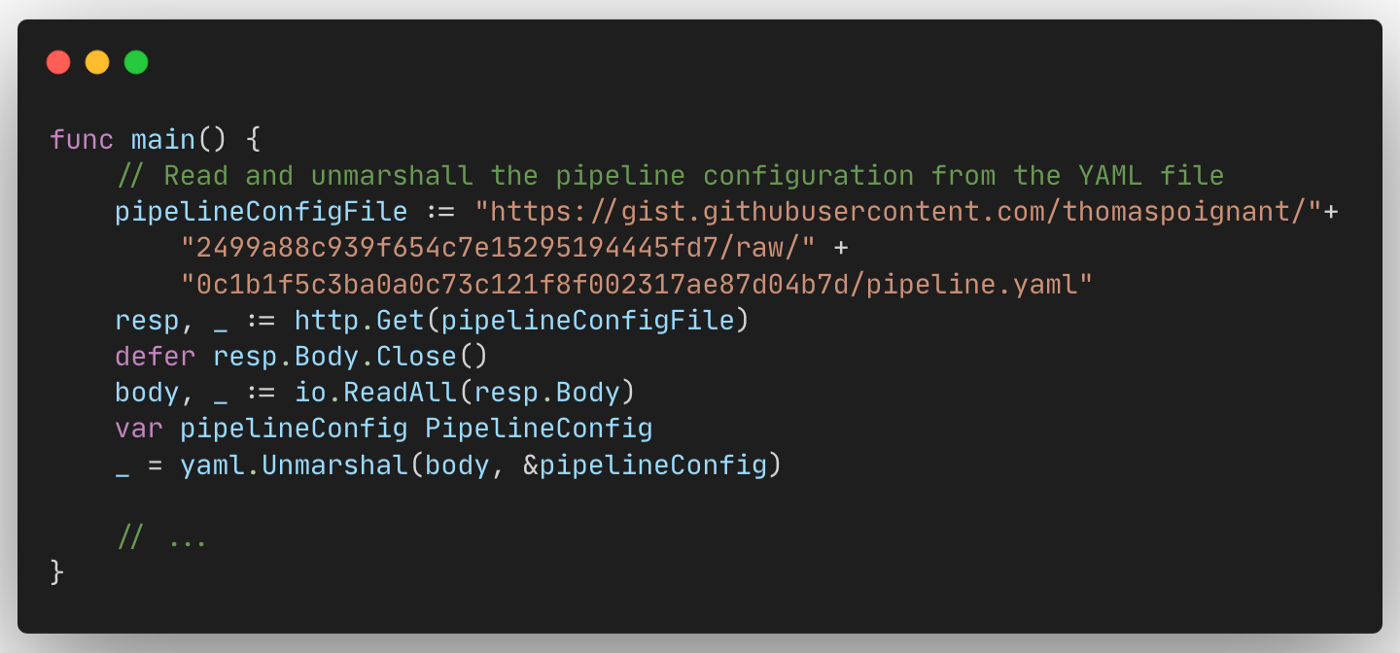
创建pipeline
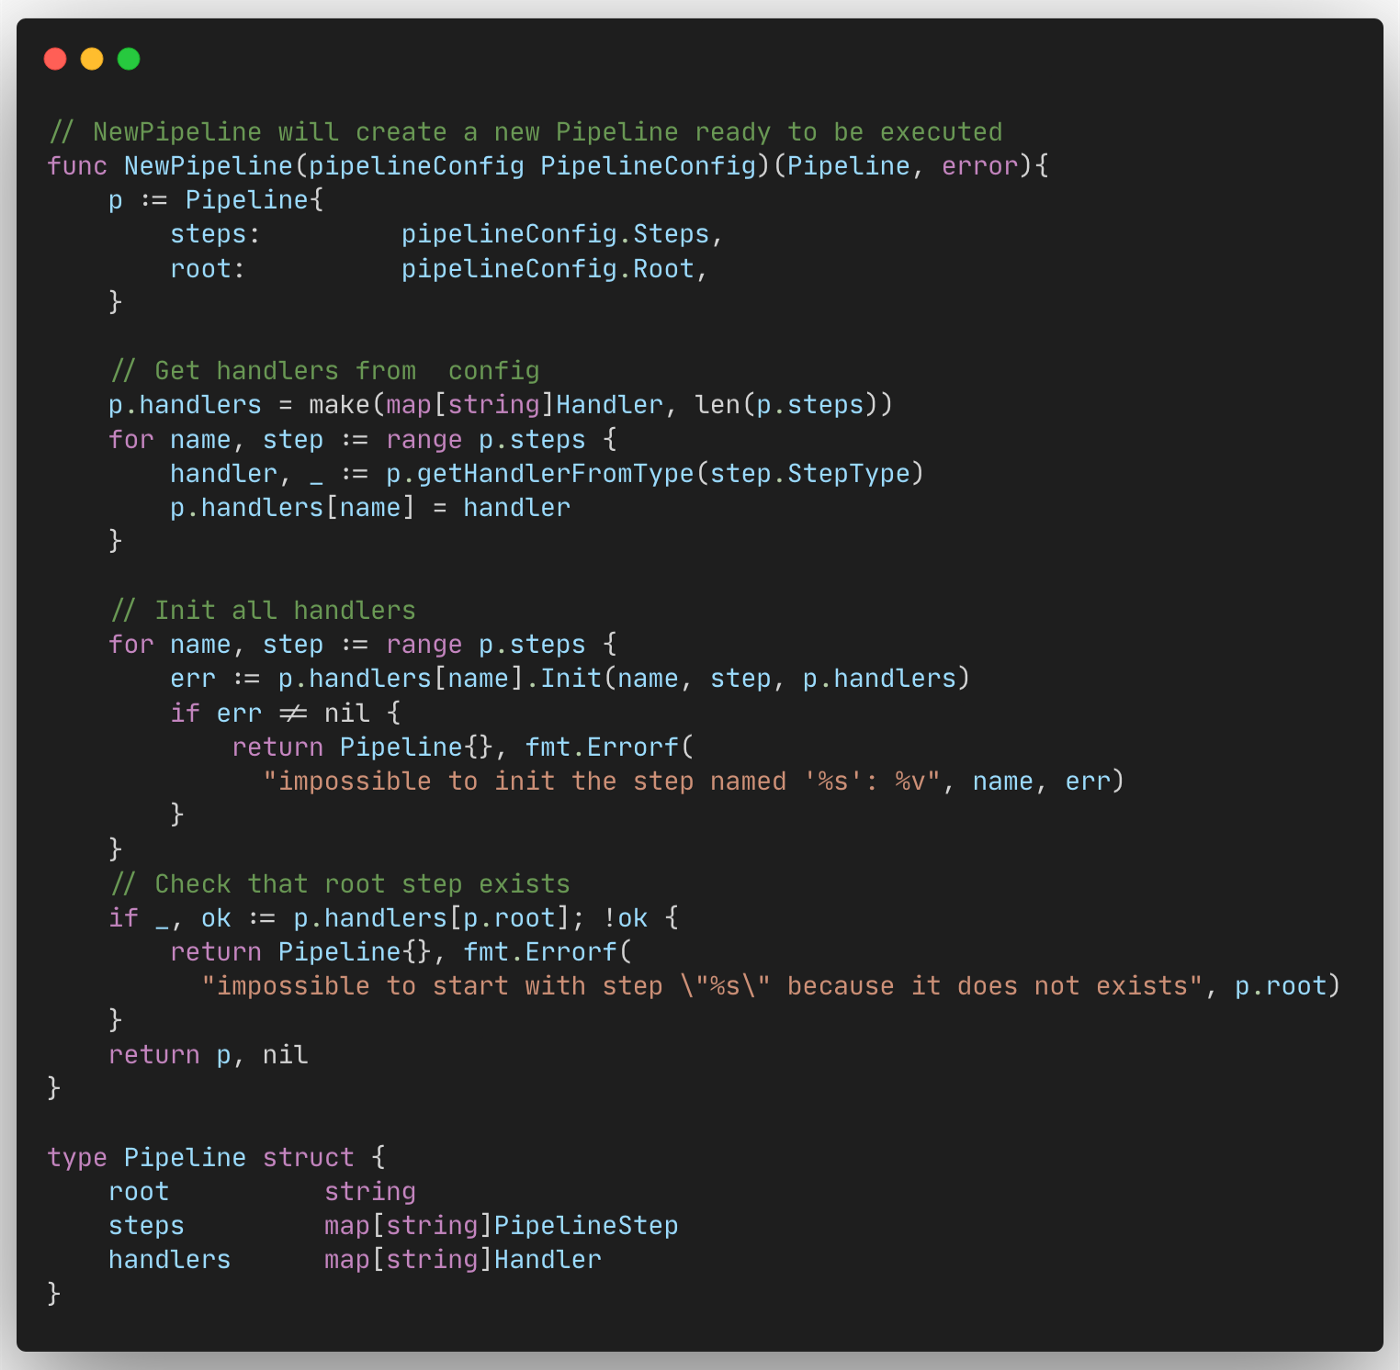
我们已经有了config。使用这个可以创建pipeline。调用NewPipeline函数:
pipeline, _ := NewPipeline(pipelineConfig)
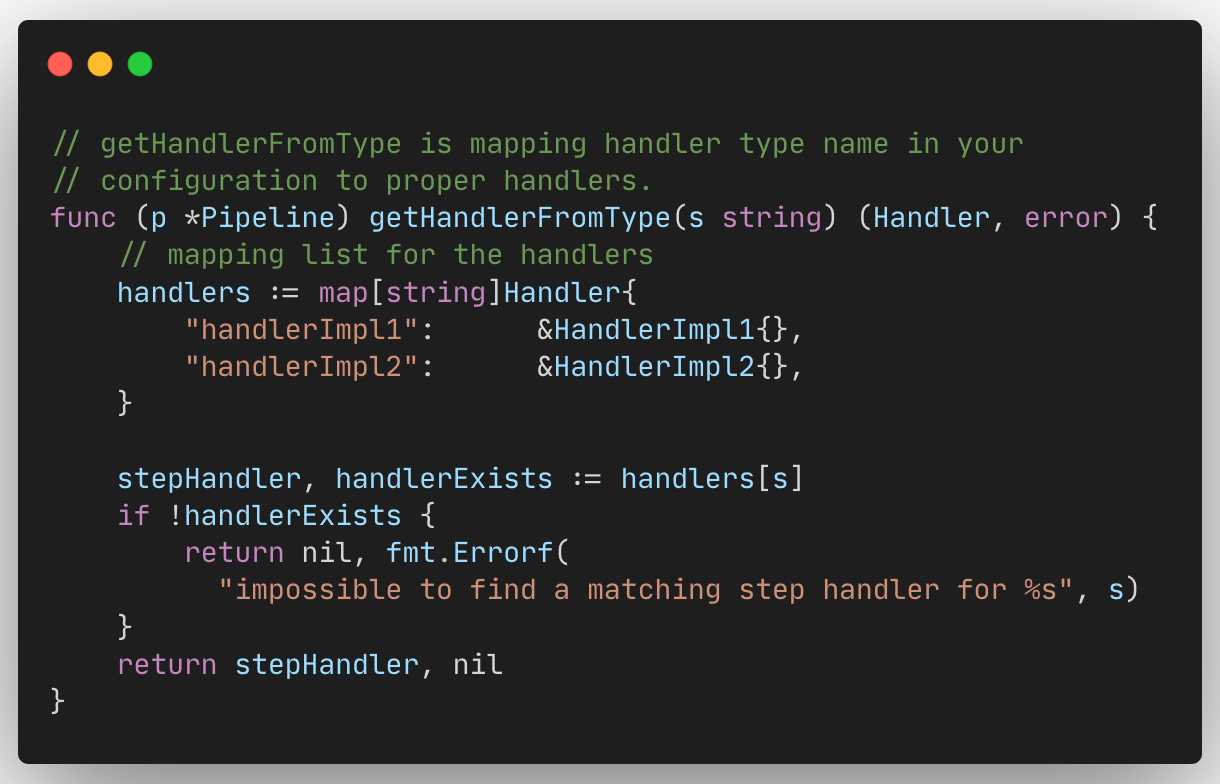
NewPipeline函数将配置文件内容转化为Pipeline结构体实例,包含一个初始化handler用于处理请求。为此,将StepType转换为对应的Handler,并通过调用init函数来初始化下一步的Handler。
StepType和Handler的映射是在getHandlerFromType函数中实现的:
创建Handler
一个Handler很容易创建,只需要实现如下接口:
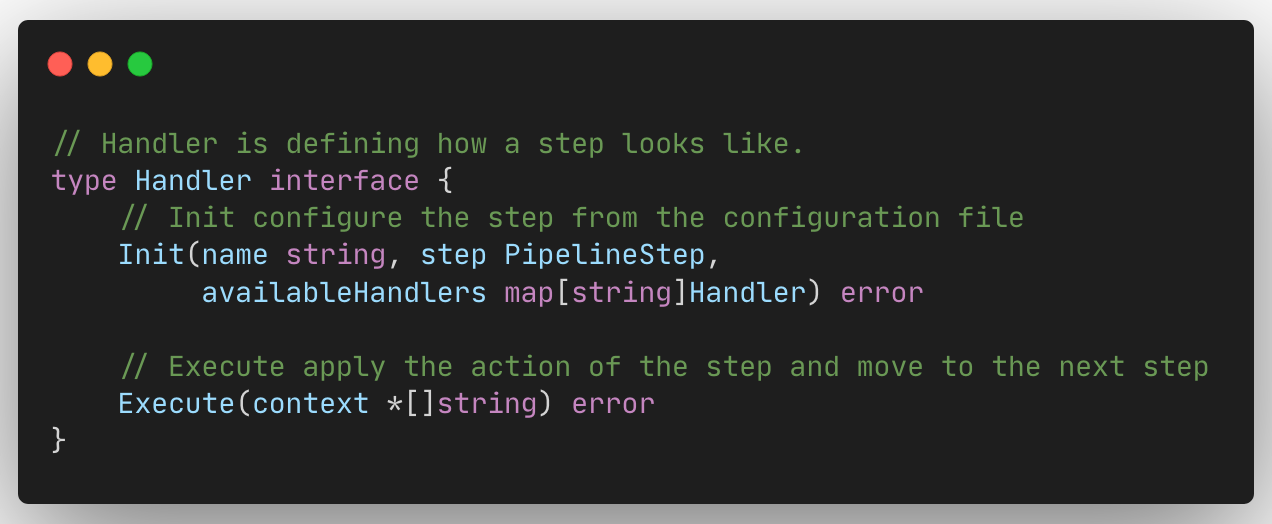
Init函数基于配置信息来初始化当前步骤的下一步Handler。Execute执行实际业务逻辑函数。这个函数决定是否进行下一步的调用。如你所见,该函数接收一个context参数。这个参数传递给每个Handler用于增加函数功能。在这个例子中,这是一个*[]string,但可以是任意类型的指针。
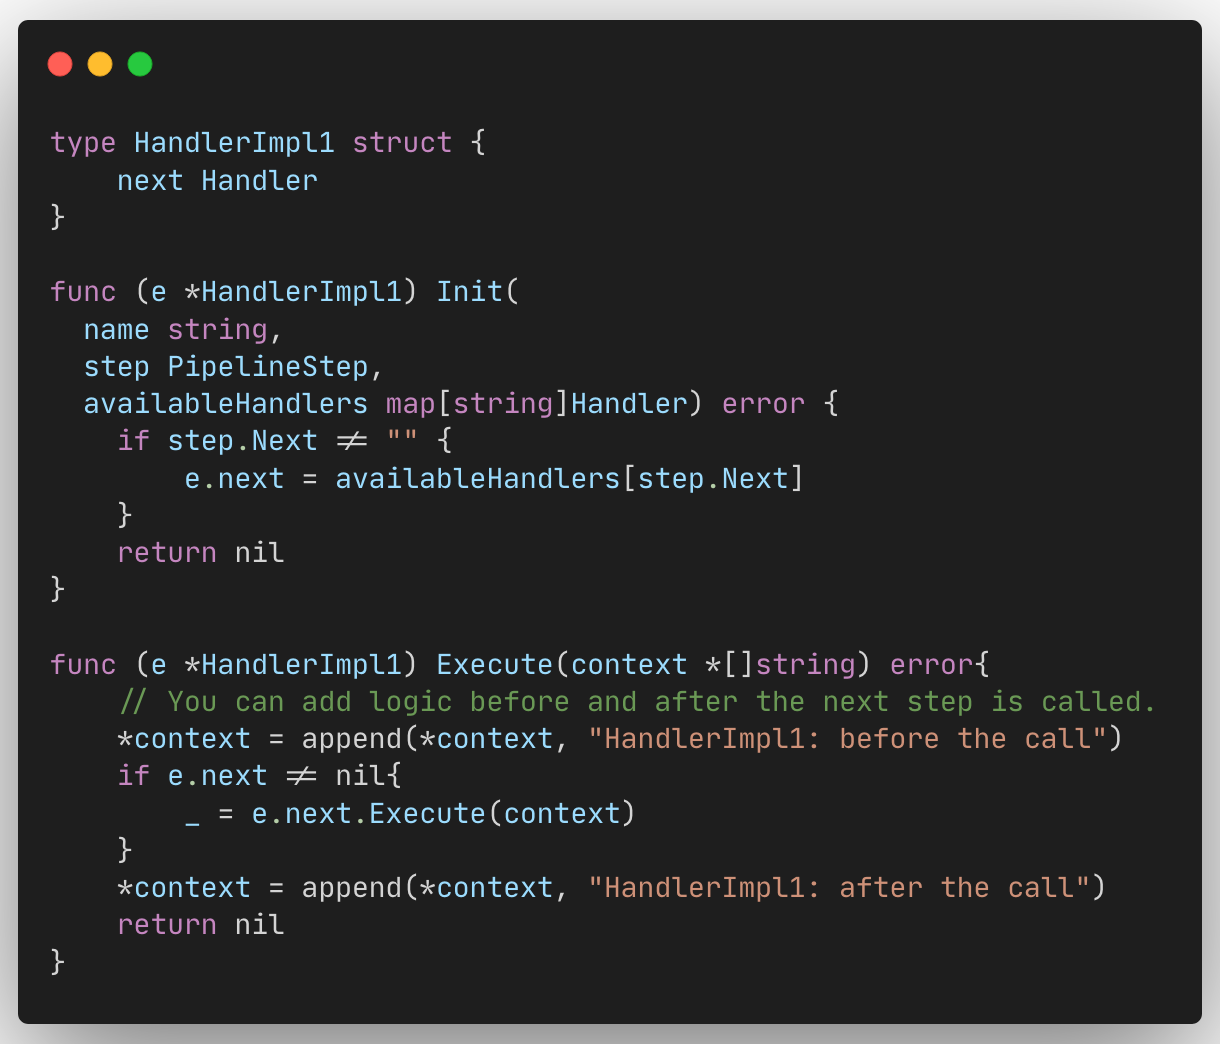
如上图所示,在调用Exectute函数时传入context。可以在得到下一步的结果后做一些操作。
执行pipeline

先执行root处理模块然后持续调用其他Handler。如此下去将执行整个链的Handler,因为每一个Handler都知道是否有下一个Hanler需执行。
代码
下面是完整代码,在这个例子中,每个处理函数都很简单,但是你可以根据需要构建自己的更复杂逻辑。
package main

import (
    "fmt"
    "gopkg.in/yaml.v3"
    "io"
    "net/http"
)

// PipelineConfig is the representation of a pipeline in the configuration.
type PipelineConfig struct {
    // Steps is the list of step in your pipeline.
    Steps map[string]PipelineStep `yaml:"steps"`

    // Root is the name of the first step in your pipeline, we will start by calling it, and it will call the next steps after it.
    Root string `yaml:"root"`
}

// PipelineStep is a step representation in the configuration.
type PipelineStep struct {
    // StepType is the type of the Handler to map for this step configuration, the list of
    // the available types is in the method getHandlerFromType
    StepType string `yaml:"type"`

    // Next is the next step we should call after this one. This param is not mandatory.
    Next string `yaml:"next"`
}
// ------------------------------------------------------------------------------------------------------

func main() {
    // Read and unmarshall the pipeline configuration from the YAML file
    pipelineConfigFile := "https://gist.githubusercontent.com/thomaspoignant/2499a88c939f654c7e15295194445fd7/raw/" +
        "0c1b1f5c3ba0a0c73c121f8f002317ae87d04b7d/pipeline.yaml"
    resp, _ := http.Get(pipelineConfigFile)
    defer resp.Body.Close()
    body, _ := io.ReadAll(resp.Body)
    var pipelineConfig PipelineConfig
    _ = yaml.Unmarshal(body, &pipelineConfig)

    // Create the pipeline from the config
    pipeline, _ := NewPipeline(pipelineConfig)

    // You can use a context object that can be used by every step
    context:= make([]string,0)
    pipeline.Execute(&context)

    // Check what all steps have done
    fmt.Println(context)
}

// ------------------------------------------------------------------------------------------------------

// NewPipeline will create a new Pipeline ready to be executed
func NewPipeline(pipelineConfig PipelineConfig)(Pipeline, error){
    p := Pipeline{
        steps:         pipelineConfig.Steps,
        root:          pipelineConfig.Root,
    }

    // Get handlers from  config
    p.handlers = make(map[string]Handler, len(p.steps))
    for name, step := range p.steps {
        handler, _ := p.getHandlerFromType(step.StepType)
        p.handlers[name] = handler
    }

    // Init all handlers
    for name, step := range p.steps {
        err := p.handlers[name].Init(name, step, p.handlers)
        if err != nil {
            return Pipeline{}, fmt.Errorf("impossible to init the step named '%s': %v", name, err)
        }
    }
    // Check that root step exists
    if _, ok := p.handlers[p.root]; !ok {
        return Pipeline{}, fmt.Errorf("impossible to start with step \"%s\" because it does not exists", p.root)
    }
    return p, nil
}

type Pipeline struct {
    root          string
    steps         map[string]PipelineStep
    handlers      map[string]Handler
}

// getHandlerFromType is mapping handler type name in your configuration to proper handlers.
func (p *Pipeline) getHandlerFromType(s string) (Handler, error) {
    // mapping list for the handlers
    handlers := map[string]Handler{
        "handlerImpl1":      &HandlerImpl1{},
        "handlerImpl2":      &HandlerImpl2{},
    }

    stepHandler, handlerExists := handlers[s]
    if !handlerExists {
        return nil, fmt.Errorf("impossible to find a matching step handler for %s", s)
    }
    return stepHandler, nil
}

// Execute the search Pipeline by taking the 1st Step and execute it.
func (p *Pipeline) Execute(context *[]string) error {
    return p.handlers[p.root].Execute(context)
}

// ------------------------------------------------------------------------------------------------------
// Handler is defining how a step looks like.
type Handler interface {
    // Init configure the step from the configuration file
    Init(name string, step PipelineStep, availableHandlers map[string]Handler) error

    // Execute apply the action of the step and move to the next step
    Execute(context *[]string) error
}
// ------------------------------------------------------------------------------------------------------
type HandlerImpl1 struct {
    next Handler
}

func (e *HandlerImpl1) Init(name string, step PipelineStep, availableHandlers map[string]Handler) error {
    // This is a simplified version of the init method, you can check that next step is not it-self
    // and that the handler is available.
    if step.Next != "" {
        e.next = availableHandlers[step.Next]
    }
    return nil
}

func (e *HandlerImpl1) Execute(context *[]string) error{
    // You can add logic before and after the next step is called.
    *context = append(*context, "HandlerImpl1: before the call")
    if e.next != nil{
        _ = e.next.Execute(context)
    }
    *context = append(*context, "HandlerImpl1: after the call")
    return nil
}
// ------------------------------------------------------------------------------------------------------
type HandlerImpl2 struct {
    next Handler
}

func (e *HandlerImpl2) Init(name string, step PipelineStep, availableHandlers map[string]Handler) error {
    if step.Next != "" { e.next = availableHandlers[step.Next] }
    return nil
}

func (e *HandlerImpl2) Execute(context *[]string) error{
    *context = append(*context, "HandlerImpl2 called")
    if e.next != nil{
        return e.next.Execute(context)
    }
    return nil
}
总结
如您所见,在Go中使用责任链或命令链设计模式非常强大,并为您提供了一种很好的逻辑解耦方法。
如果您的处理程序足够通用,可以移动到链中的其他位置,那么能够从代码外部对其进行配置将给您带来许多潜在的改进。
从经验来看,如果你有一个产品,你可以为不同的客户定制,它将帮助你很多。一开始你会花时间去开发你的处理程序,但到最后,你会有一套完整的处理程序,让你只选择正确的链而不开发任何东西。
 IDEA激活码


