title: 动手撸一个 mvc 框架1
date: 2020/04/21 17:06
本节内容 & 思考题
- 增加与 web 应用相关的 WebApplicaitonContext
- 搭建出 SpringMVC 的 DispatcherServlet 的结构
新增 WebApplicaitonContext
/**
 * 部分配置在 Spring 中采用 ConfigurableWebApplicationContext 接口封装
 */
public interface WebApplicationContext extends ApplicationContext {

    /**
     * 成功启动时将 Root WebApplicationContext 绑定到 ServletContext 中的属性。
     */
    String WEB_APPLICATION_CONTEXT_ATTRIBUTE_NAME = WebApplicationContext.class.getName() + ".ROOT";

    void setServletContext(ServletContext servletContext);

    ServletContext getServletContext();

    void setServletConfig(ServletConfig servletConfig);

    ServletConfig getServletConfig();
}


public class JsonWebApplicationContext extends FileSystemJsonApplicationContext implements WebApplicationContext {

    private ServletContext servletContext;

    private ServletConfig servletConfig;

    // 在 SpringMVC 中 spring-mvc.xml 文件的位置是在 setServletContext() 中,从 setServletContext() 中获取到的,然后调用 refresh 方法
    // 此处为了迎合我们的写法(把加载 bd 放到了构造中),所以必须要这样写
    // 注:在 Spring 中加载 bd 是 bf 的方法,new 出 bd 使用者(ApplicationContext)自己调用的。
    public JsonWebApplicationContext(String[] locations) {
        super(locations);
    }

    public JsonWebApplicationContext(String[] locations, ApplicationContext parent) {
        super(locations, parent);
    }

    // -----> WebApplicationContext 中的方法


    @Override
    public ServletContext getServletContext() {
        return servletContext;
    }

    @Override
    public void setServletContext(ServletContext servletContext) {
        this.servletContext = servletContext;
    }

    @Override
    public ServletConfig getServletConfig() {
        return servletConfig;
    }

    @Override
    public void setServletConfig(ServletConfig servletConfig) {
        this.servletConfig = servletConfig;
    }

    @Override
    protected Environment createEnvironment() {
        return new StandardServletEnvironment();
    }
}

其中 StandardServletEnvironment 你应该还记的吧。

public class StandardServletEnvironment extends StandardEnvironment implements WebEnvironment {

    /**
     * 从 servletContext 和 servletConfig 取出属性,初始化 env
     */
    @Override
    public void initPropertySources(ServletContext servletContext, ServletConfig servletConfig) {
        // 我不会写
        // StandardServletEnvironment 中 Spring 给他添加了这些东西 servletContextInitParams、servletConfigInitParams

    }
}
增加 DispatcherServlet
1、HttpServletBean
它的作用是从 ServletContext 中读取出我们需要的参数
public class HttpServletBean extends HttpServlet {

    /**
     * 当第一次请求到来的时候会调用
     */
    @Override
    public void init() throws ServletException {

        // 从 ServletContext 取出必须的参数设置到当前对象,因为我们没有,就不写了

        // 调用子类的初始化方法
        this.initServletBean();
    }

    /**
     * 子类可以重写此方法以执行自定义初始化。在调用此方法之前,将设置此servlet的所有bean属性。此默认实现不执行任何操作。
     */
    protected void initServletBean() {

    }
}
2、子类 FrameworkServlet
FrameworkServlet 重写了 initServletBean 方法,将 web 容器进行了初始化,并注册了事件,等待容器刷新的时候调用:
public abstract class FrameworkServlet extends HttpServletBean {

    /**
     * WebApplicationContext for this servlet
     */
    private WebApplicationContext wac;

    // 是否已经触发刷新事件
    private boolean refreshEventReceived;

    // 放入 ServletContext 中的属性的前缀
    public static final String SERVLET_CONTEXT_PREFIX = FrameworkServlet.class.getName() + ".CONTEXT.";

    /**
     * 子类可以重写此方法以执行自定义初始化。在调用此方法之前,将设置此servlet的所有bean属性。此默认实现不执行任何操作。
     */
    @Override
    protected void initServletBean() {
        this.createWebApplicationContext();
        this.initFrameworkServlet();
    }

    private void createWebApplicationContext() {

        // 获取 servlet 上下文
        ServletContext servletContext = super.getServletContext();

        // 寻找是否具有父容器(Listener 中加载的)
        WebApplicationContext rootContext = (WebApplicationContext) servletContext.getAttribute(WebApplicationContext.WEB_APPLICATION_CONTEXT_ATTRIBUTE_NAME);

        // 如果当前的 web 容器为空,则检查 ServletContext 中有没有
        if (wac == null) {
            wac = (WebApplicationContext) servletContext.getAttribute(this.getServletContextAttributeName());
        }

        // 如果当前的 web 容器为空,则创建一个
        if (wac == null) {
            // SpringMVC 配置文件地址
            String mvcConfigLocation = super.getServletConfig().getInitParameter("mvcConfigLocation");
            String realPath = servletContext.getRealPath(mvcConfigLocation);
            String[] locations = new String[]{realPath};
            wac = new JsonWebApplicationContext(locations, rootContext);
            this.configureAndRefreshWebApplicationContext();
        }

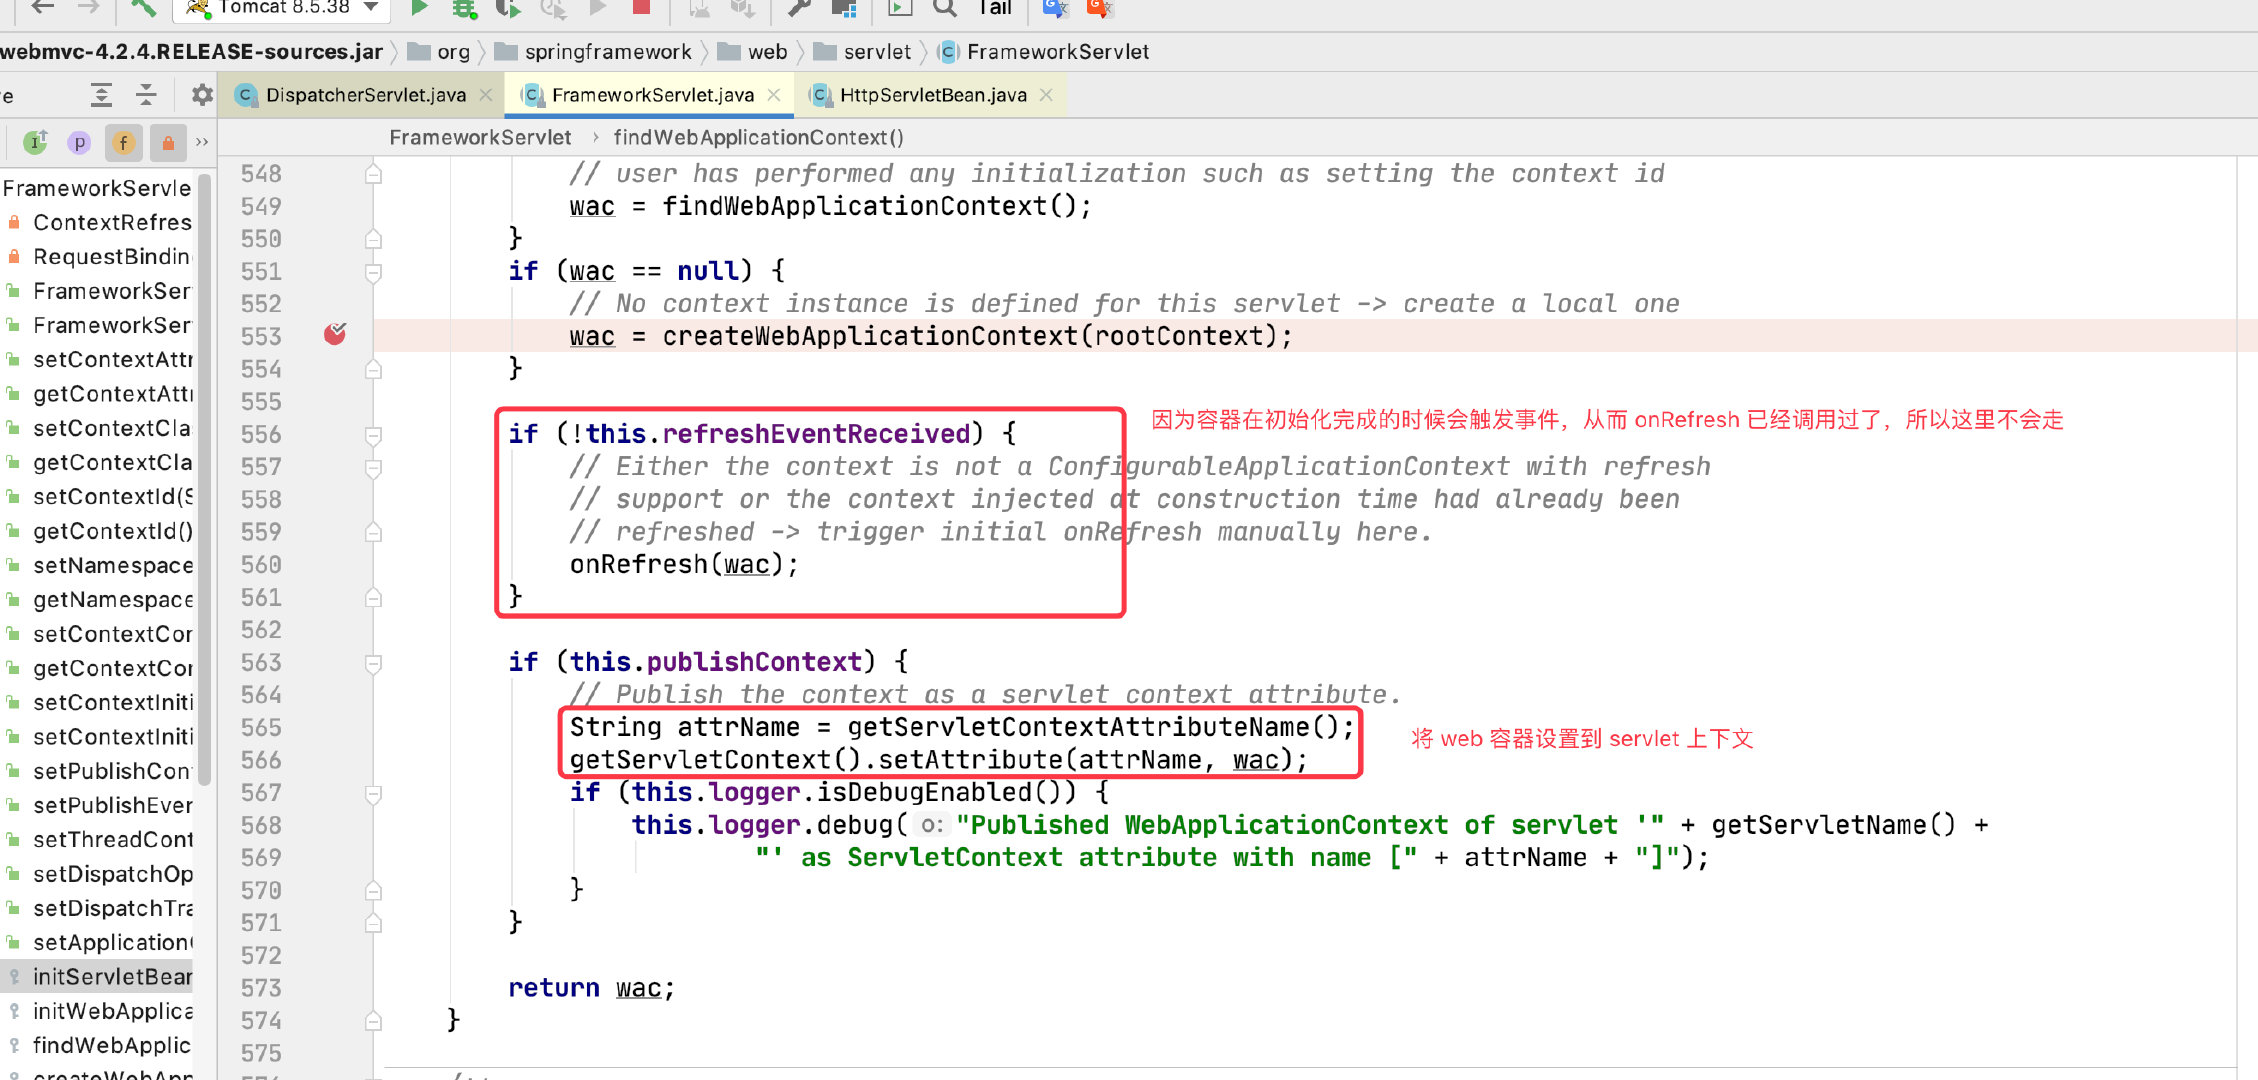
        // 如果还没刷新 DispatchServlet 则进行刷新
        if (!refreshEventReceived) {
            onRefresh(wac);
        }

        // 将当前 web 容器放进 ServletContext 中
        String attrName = this.getServletContextAttributeName();
        servletContext.setAttribute(attrName, wac);
    }

    public String getServletContextAttributeName() {
        return SERVLET_CONTEXT_PREFIX + super.getServletName();
    }

    private void configureAndRefreshWebApplicationContext() {
        wac.setServletContext(super.getServletContext());
        wac.setServletConfig(super.getServletConfig());

        // SpringMVC 中还使用 SourceFilteringListener 包装了一下,为了方便这里就不包装了
        wac.addApplicationListener(new ContextRefreshListener());

        // 获取到 applicationContext 的环境,将 ServletContext 中的参数放进 env 中
        Environment env = wac.getEnvironment();
        if (env instanceof StandardServletEnvironment) {
            ((StandardServletEnvironment) env).initPropertySources(super.getServletContext(), super.getServletConfig());
        }
    }

    // 空实现,在 MVC 中也没有人重写它
    protected void initFrameworkServlet() {
    }

    private class ContextRefreshListener implements ApplicationListener<ContextRefreshedEvent> {

        @Override
        public void onApplicationEvent(ContextRefreshedEvent event) {
            FrameworkServlet.this.onApplicationEvent(event);
        }

        /**
         * 获取事件类型
         */
        @Override
        public Class<ContextRefreshedEvent> getEventType() {
            return ContextRefreshedEvent.class;
        }
    }

    private void onApplicationEvent(ContextRefreshedEvent event) {
        this.refreshEventReceived = true;
        this.onRefresh(event.getApplicationContext());
    }

    /**
     * DispatchServlet 重写了这个方法
     */
    protected void onRefresh(ApplicationContext applicationContext) {
        // For subclasses: do nothing by default.
    }
}
3、增加 DispatcherServlet
当容器刷新的时候会触发事件调用 onRefresh 方法,onRefresh 方法的作用就是初始化各种处理器。
这些处理器就是 SpringMVC 的核心,我们接下来就要讲他们。
public class DispatcherServlet extends FrameworkServlet {

    /**
     * This implementation calls {@link #initStrategies}.
     */
    @Override
    protected void onRefresh(ApplicationContext context) {
        initStrategies(context);
    }

    /**
     * 初始化此servlet使用的策略对象。
     */
    protected void initStrategies(ApplicationContext context) {
//        initMultipartResolver(context);
//        initLocaleResolver(context);
//        initThemeResolver(context);
//        initHandlerMappings(context);
//        initHandlerAdapters(context);
//        initHandlerExceptionResolvers(context);
//        initRequestToViewNameTranslator(context);
//        initViewResolvers(context);
//        initFlashMapManager(context);
    }

}
Spring 4.0
DispatcherServlet 的 init 方法
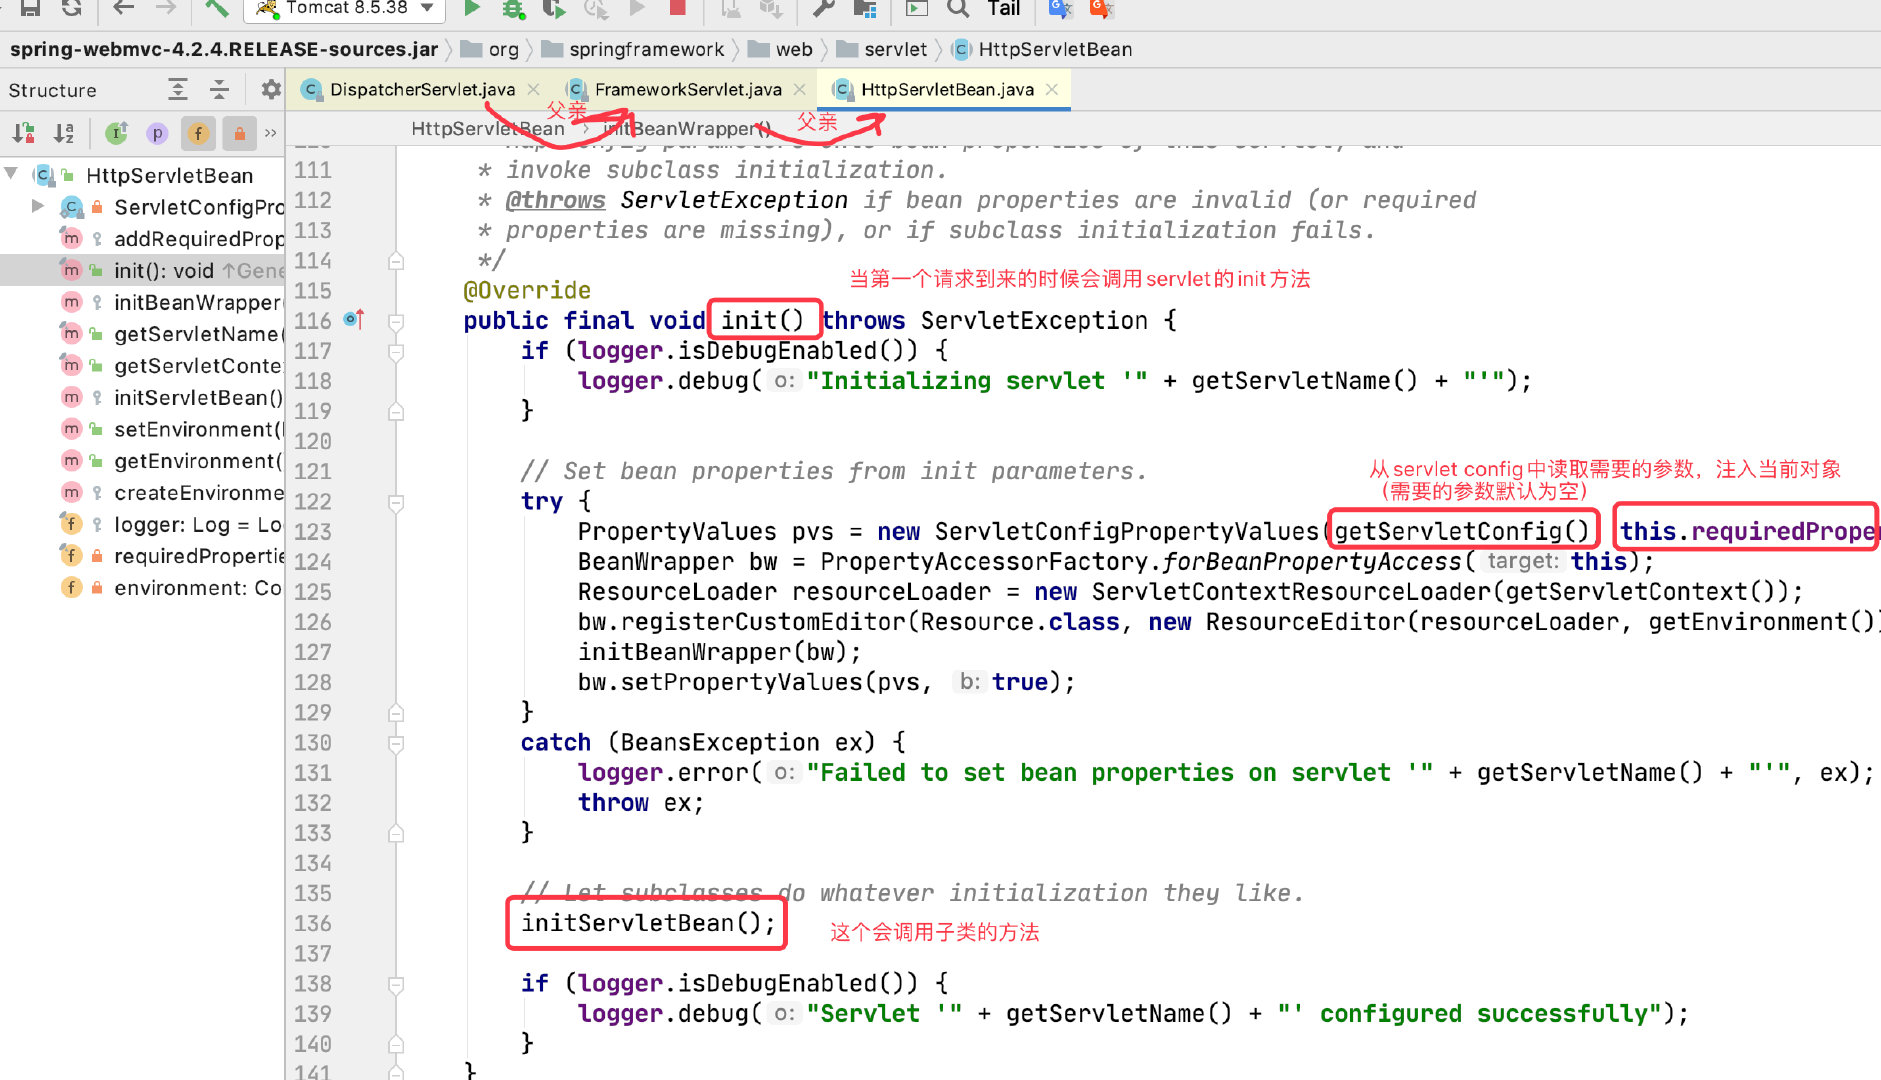
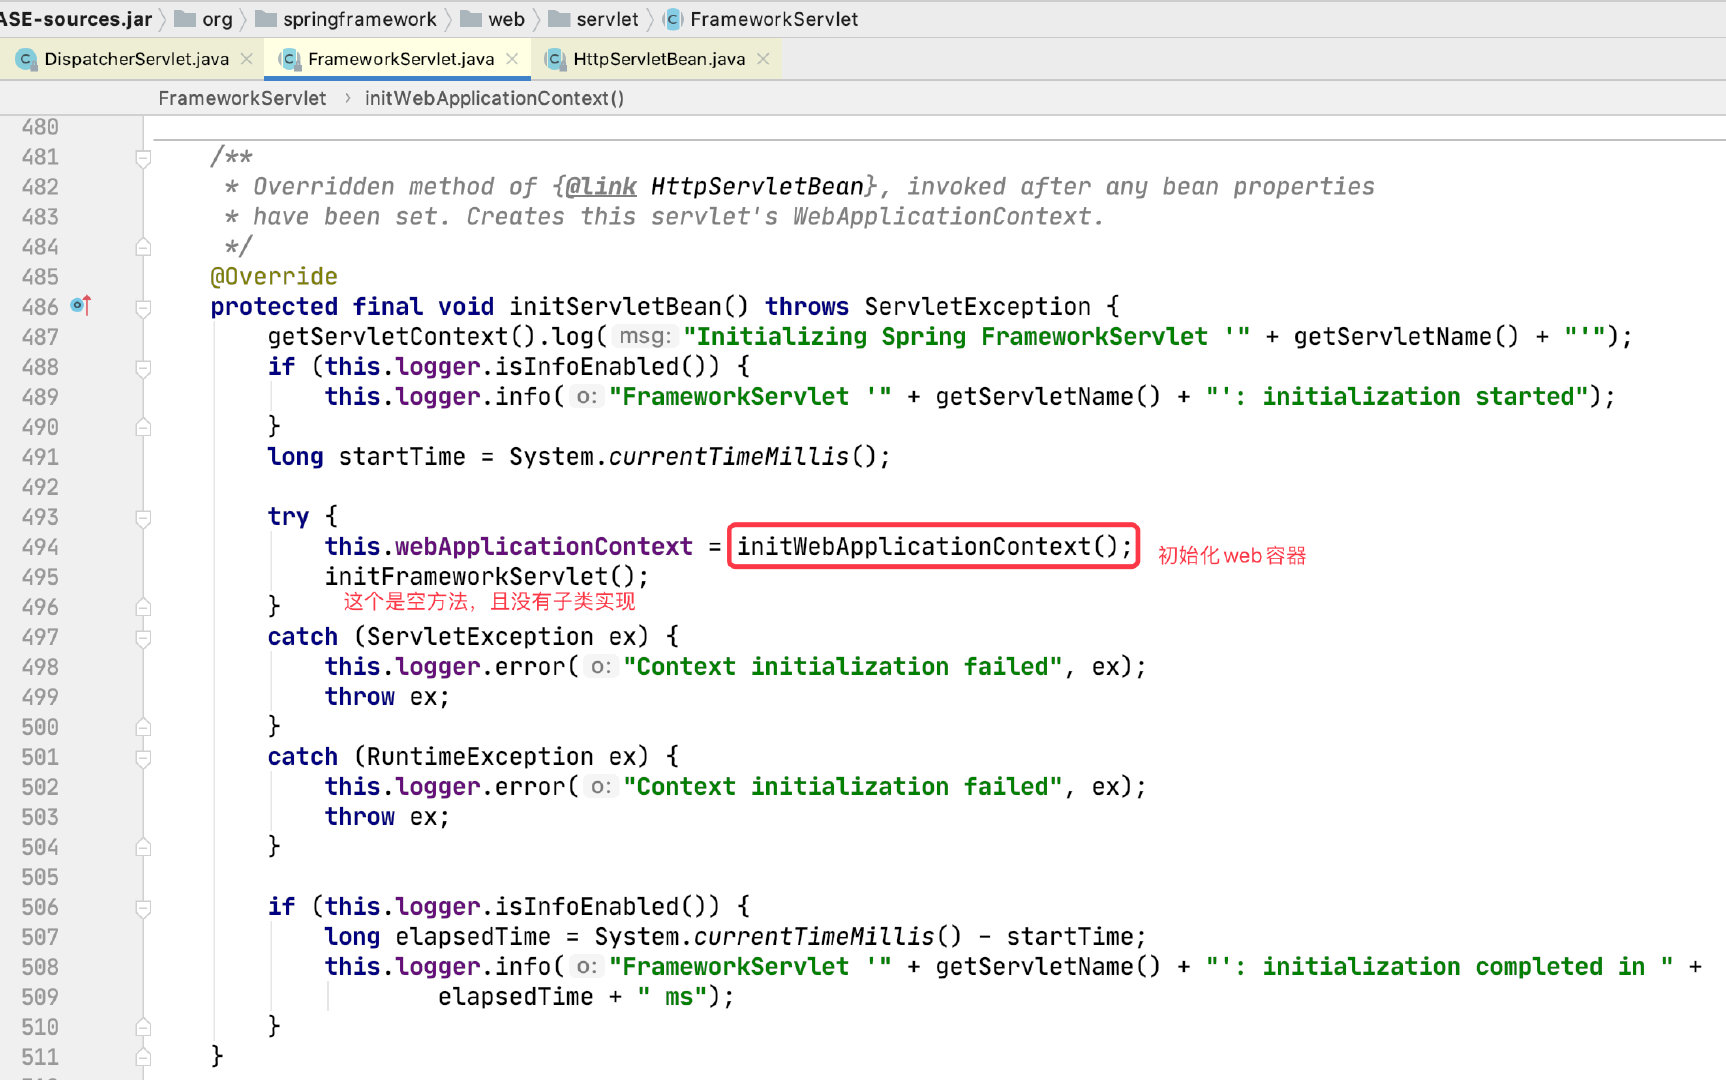
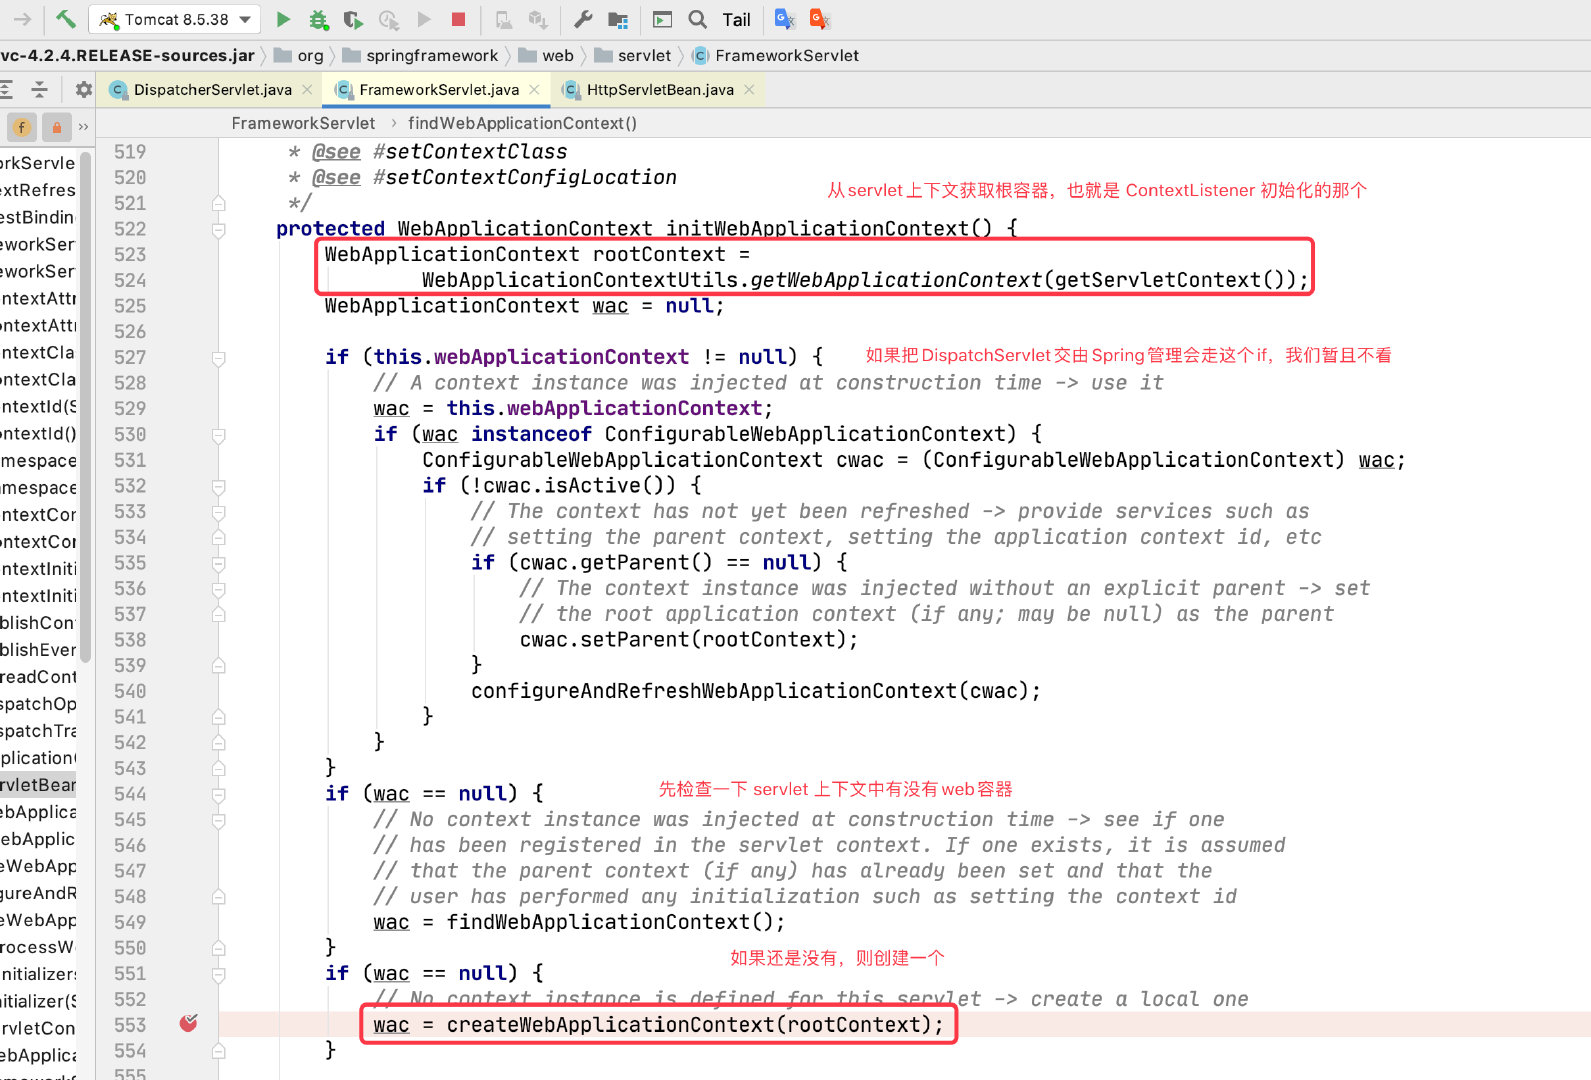
我们点进去 tag1
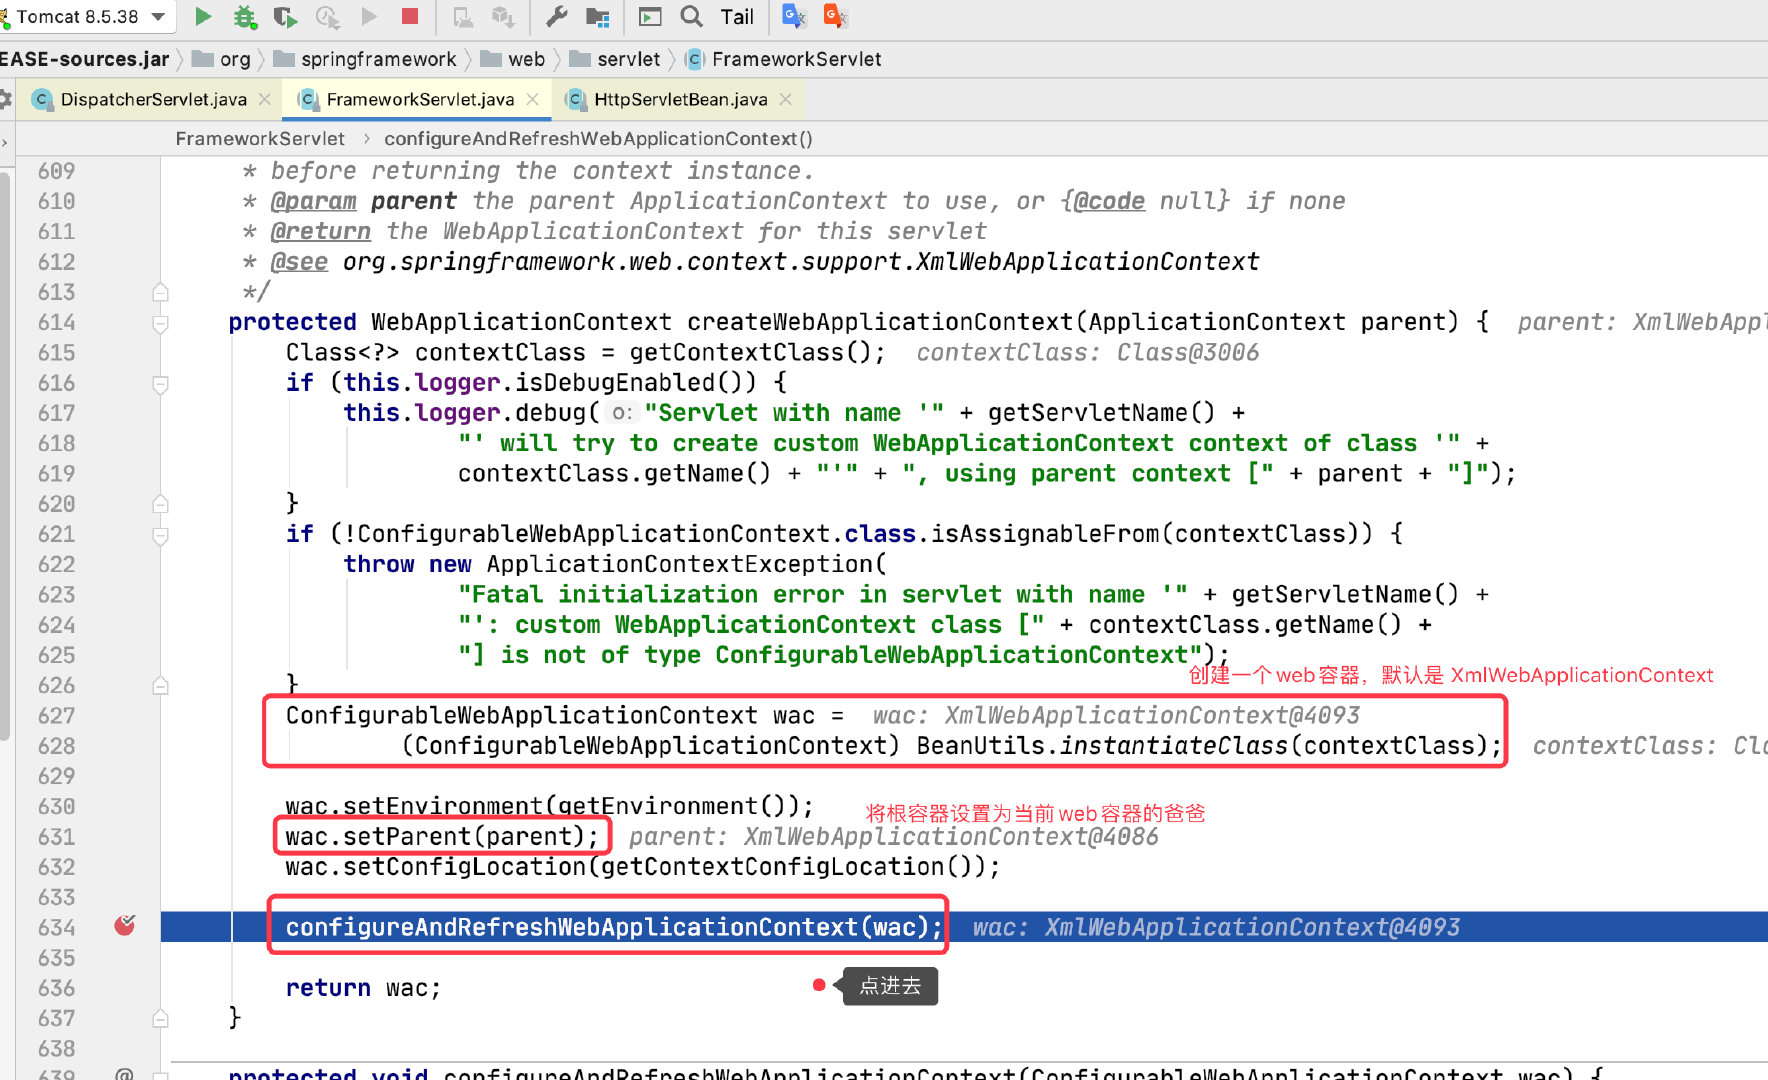
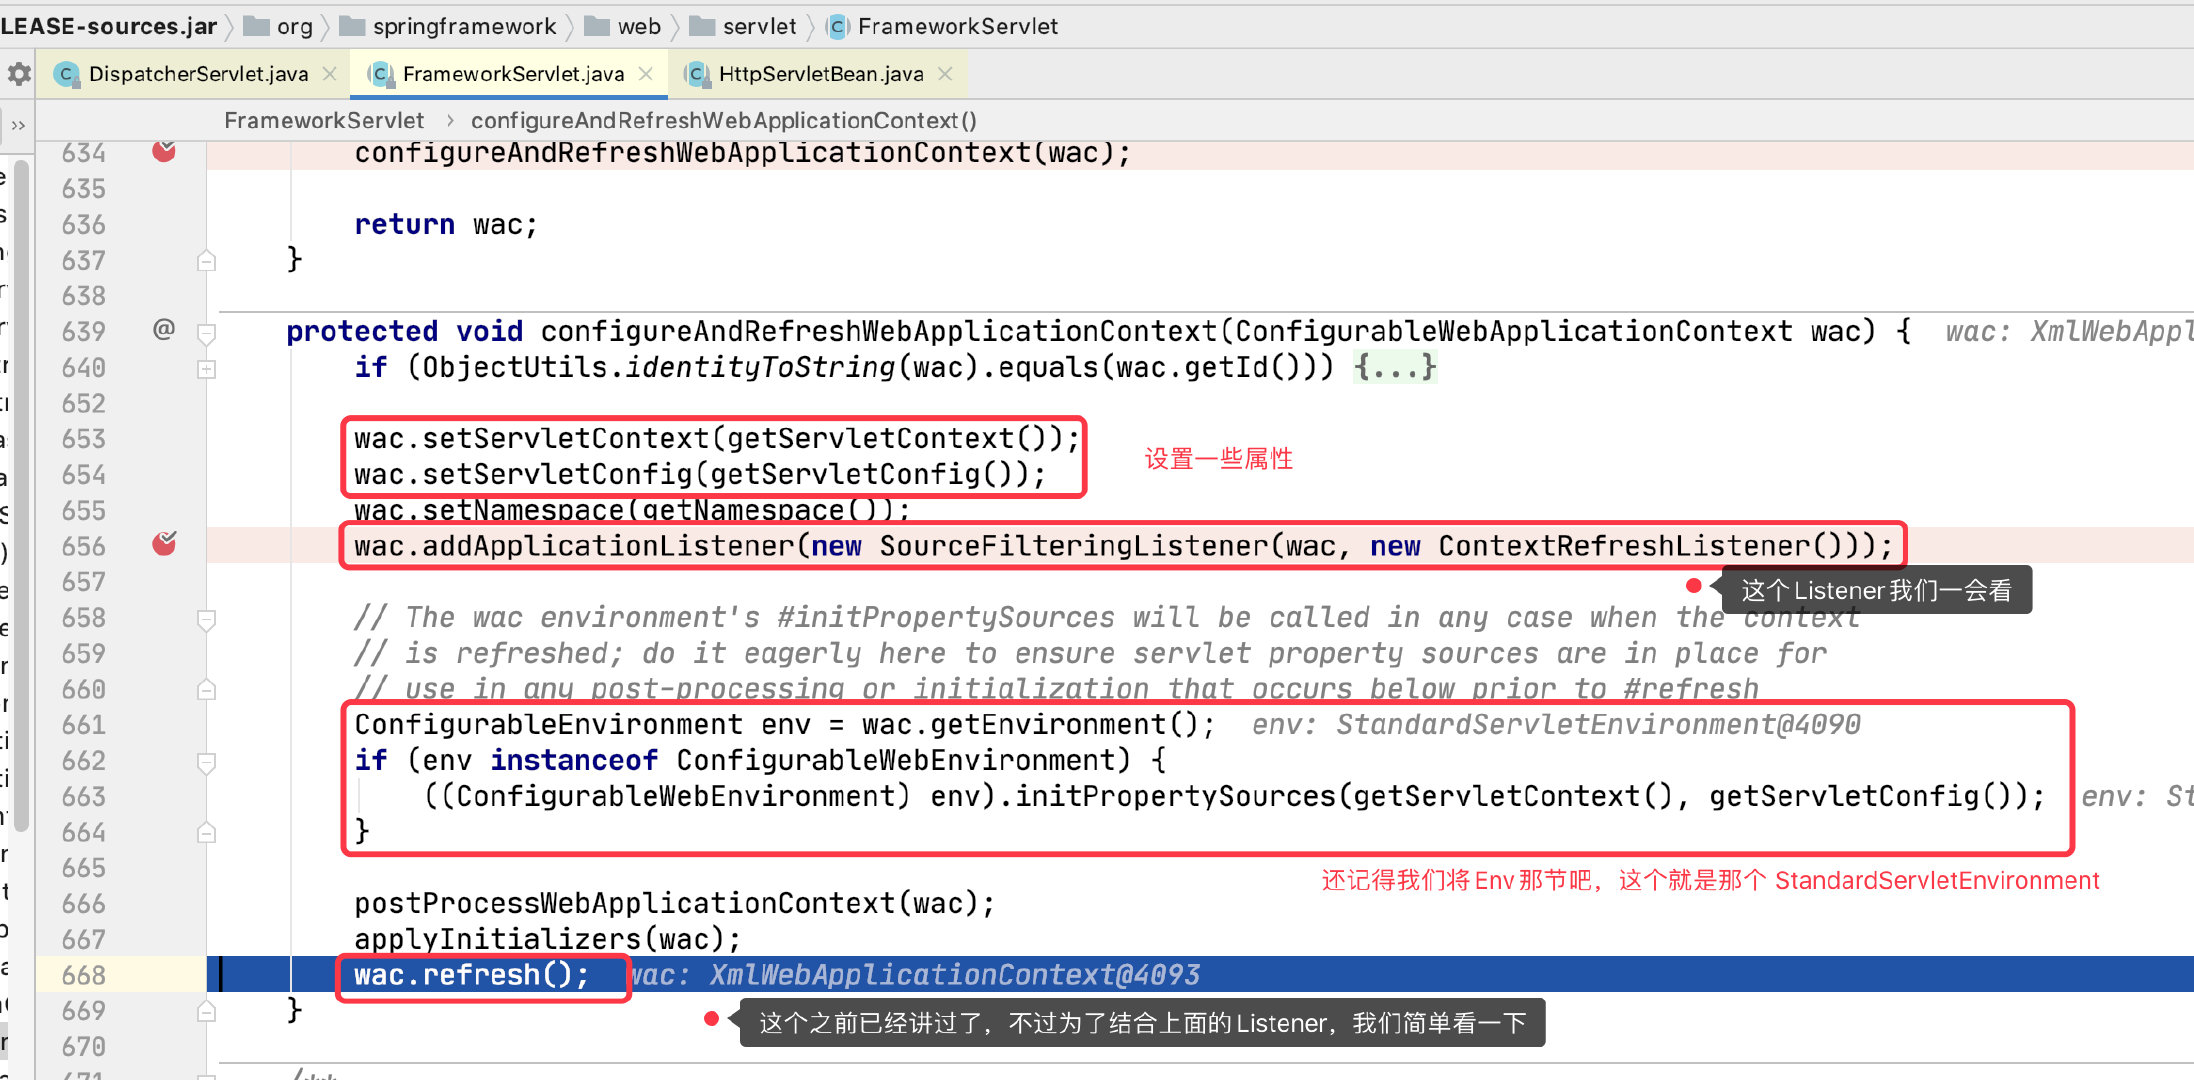
注:这个 nameSpace 和 spring-mv.xml 这个配置文件有关。
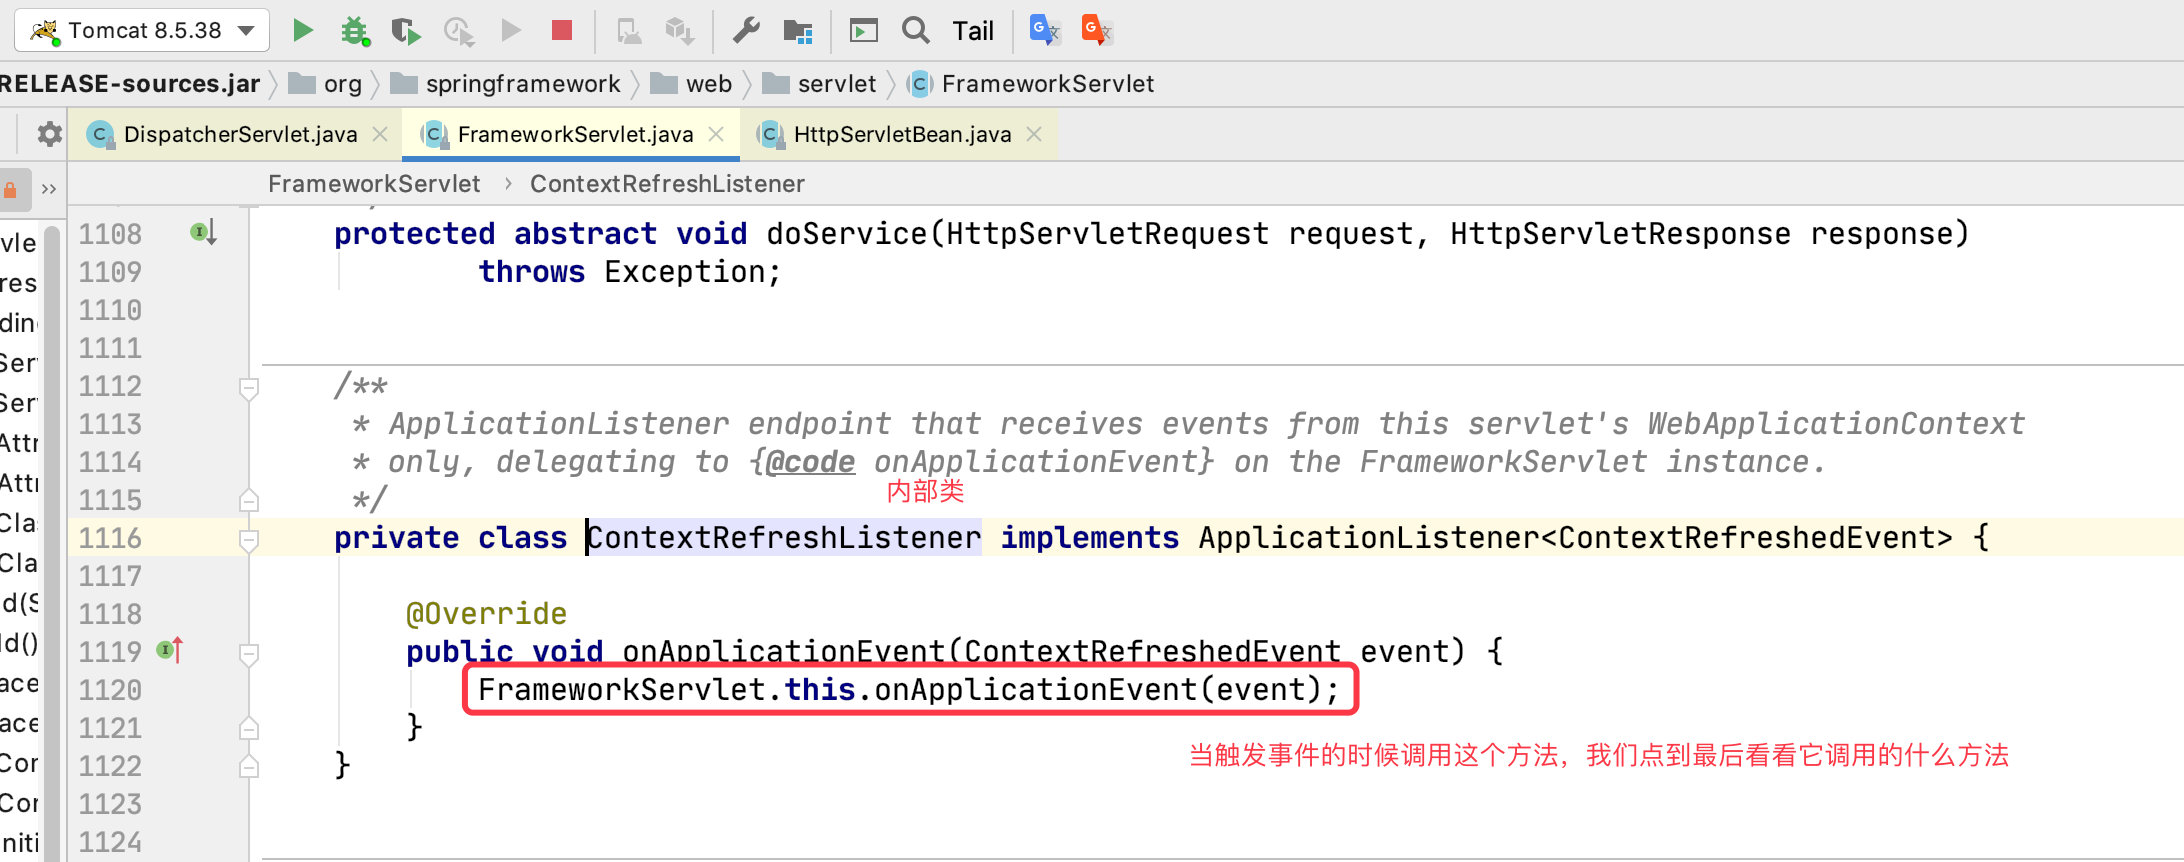
最终调用到了 DispatcherServlet 的 onRefresh 方法:
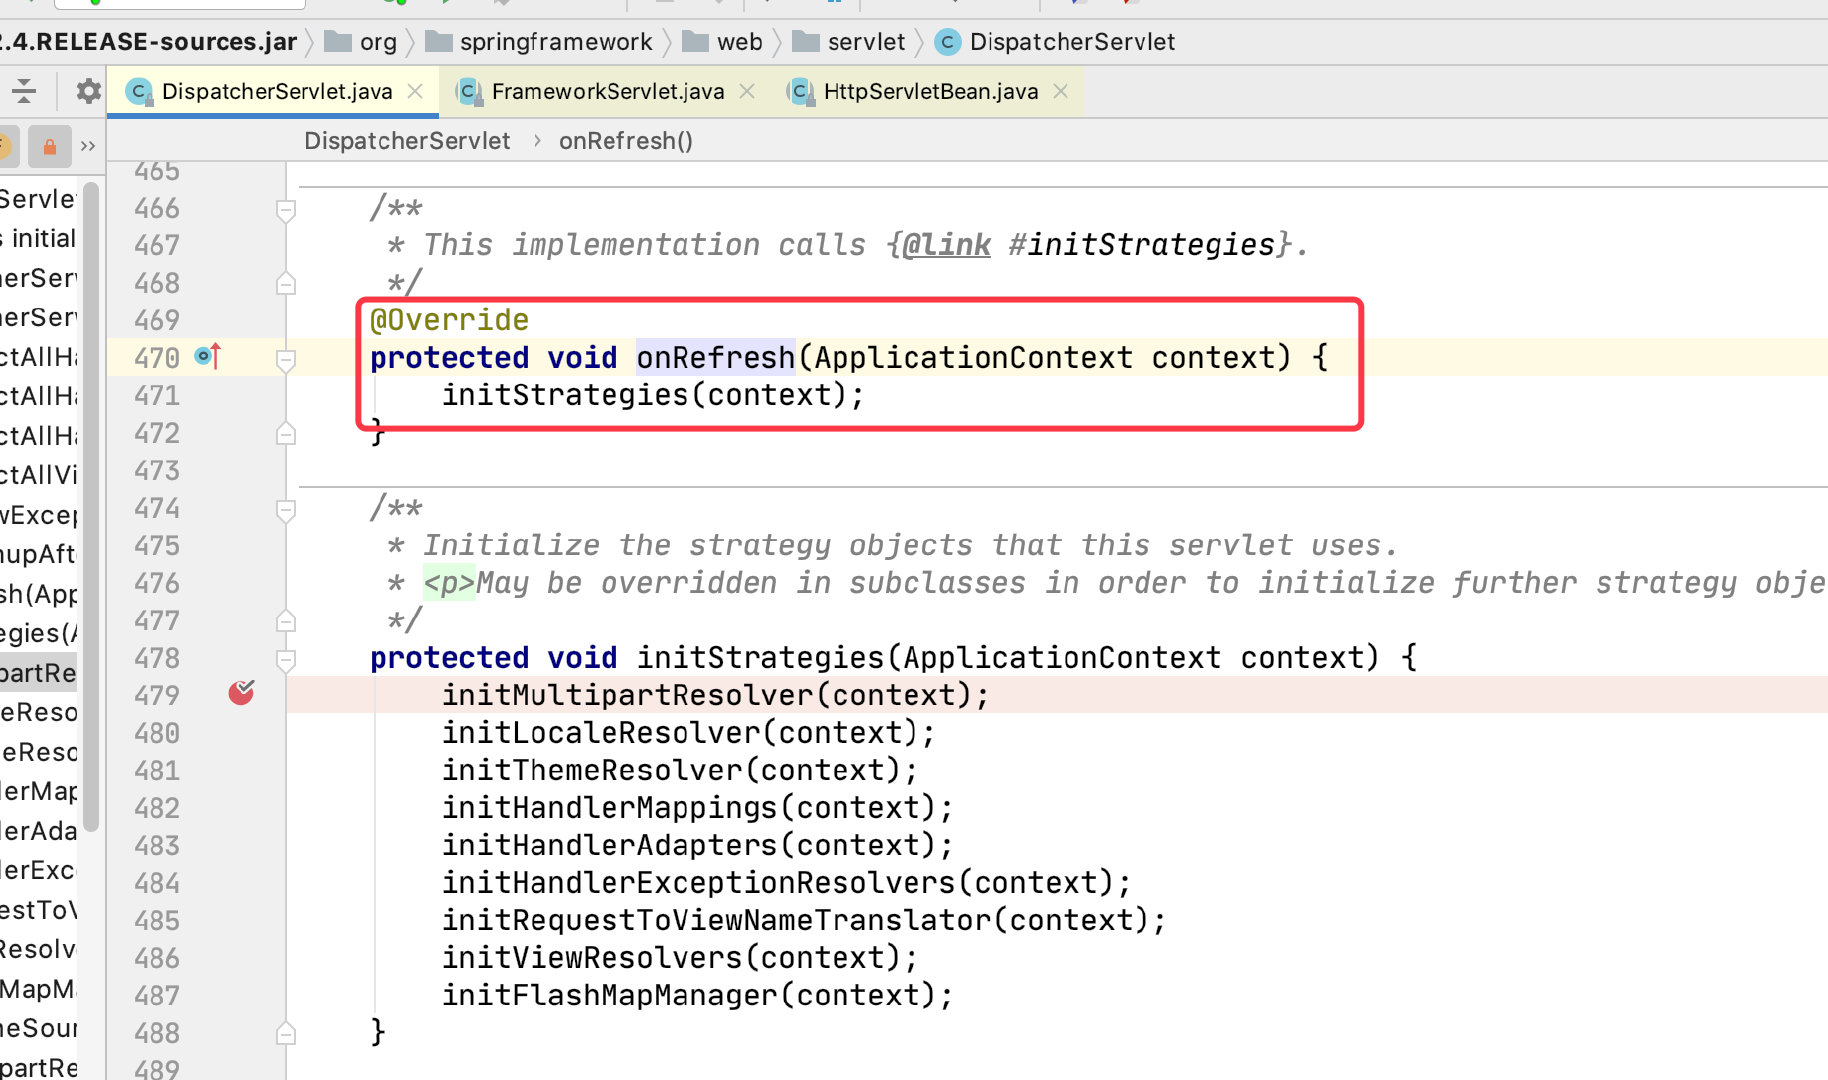
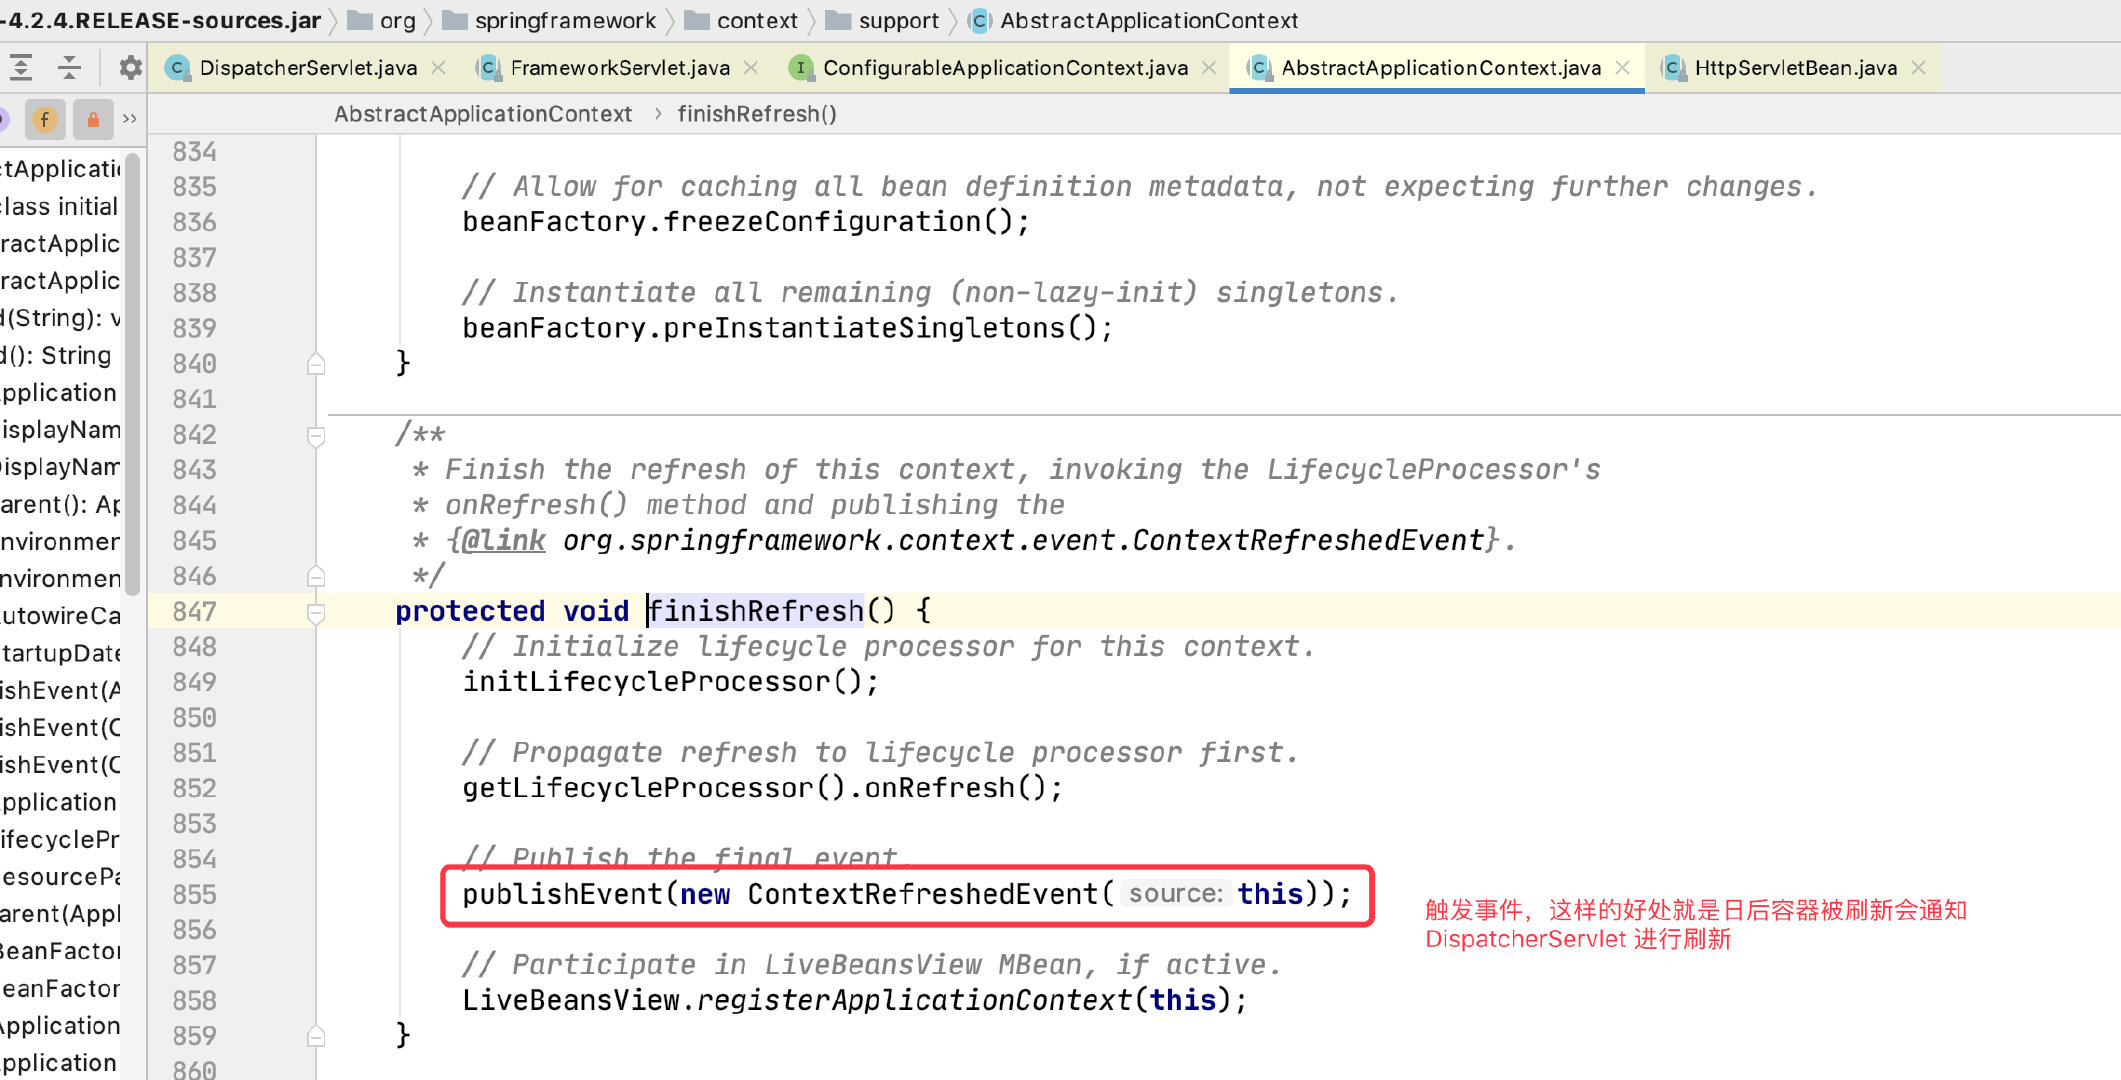
我们看下是在什么时候触发的事件:
wac.refesh();
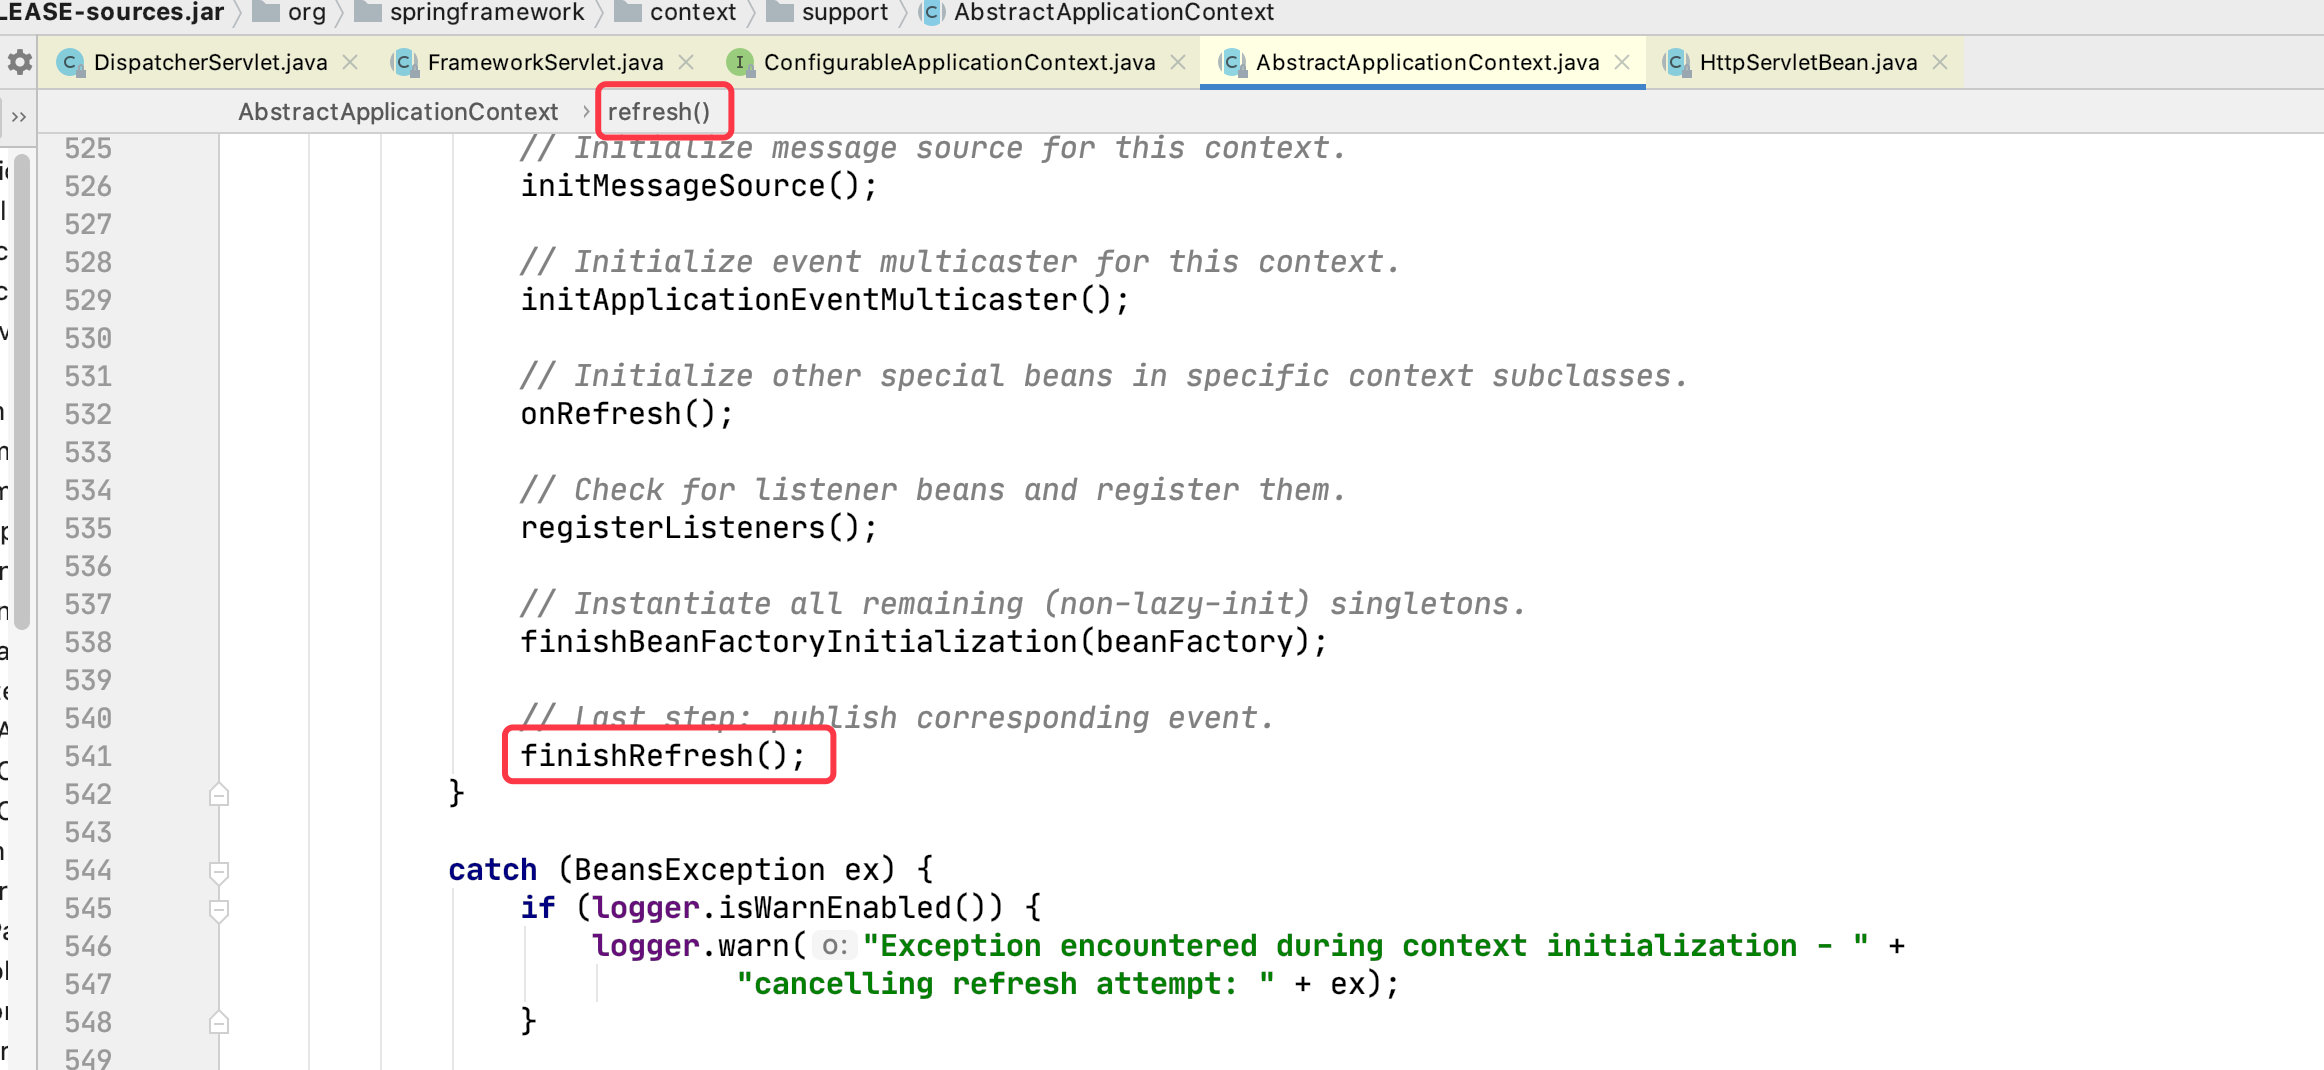
点进去
我们回到 tag1 继续走
 IDEA激活码


